MATERIALS.CO.UK
Metals • Plastics • Rubbers • Polymers • Ceramics • Composites
Metals • Plastics • Rubbers • Polymers • Ceramics • Composites
Metals • Plastics • Rubbers • Polymers • Ceramics • Composites • Coatings
Vickers Hardness
Description
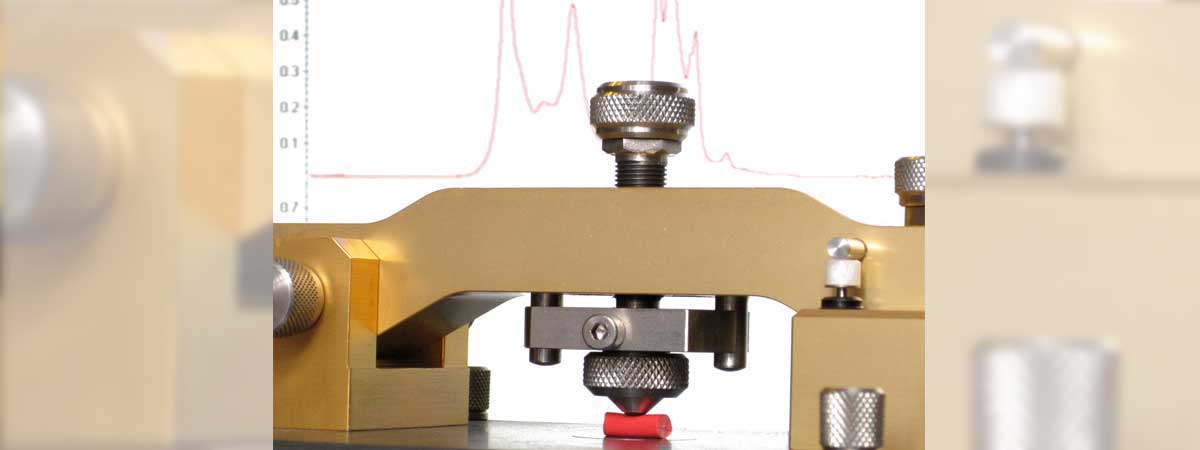
The Vickers hardness test uses a square-based pyramid diamond indenter with an angle of 136° between the opposite faces at the vertex, which is pressed into the surface of the test piece using a prescribed force, F. The time for the initial application of the force is 2 s to 8 s, and the test force is maintained for 10 s to 15 s. After the force has been removed, the diagonal lengths of the indentation are measured and the arithmetic mean, d, is calculated. The Vickers hardness number, HV, is given by:
HV = Constant × Test force / Surface area of indentation


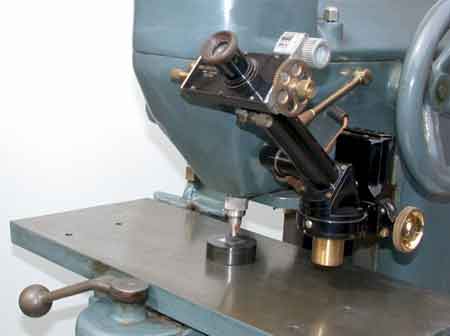
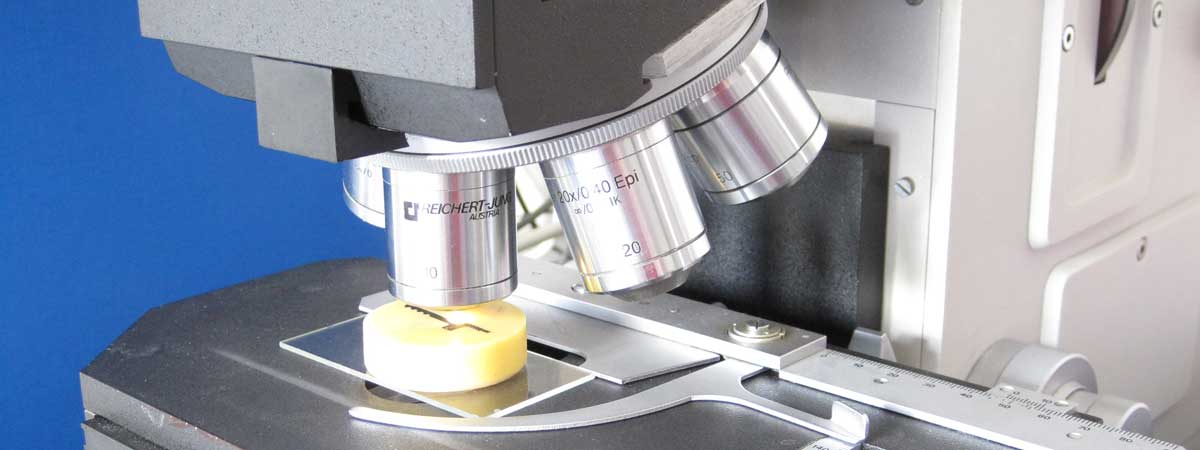
Vickers Hardness Tester
Standard Vickers Scales
| Micro-hardness scales |
Test force F (N) |
Low-force hardness scales |
Test force F (N) |
Macro-hardness scales |
Test force F (N) |
| HV 0.01 | 0.09807 | HV 0.2 | 1.961 | HV 5 | 49.03 |
| HV 0.015 | 0.1471 | HV 0.3 | 2.942 | HV 10 | 98.07 |
| HV 0.02 | 0.1961 | HV 0.5 | 4.903 | HV 20 | 196.1 |
| HV 0.025 | 0.2452 | HV 1 | 9.807 | HV 30 | 294.2 |
| HV 0.05 | 0.4903 | HV 2 | 19.61 | HV 50 | 490.3 |
| HV 0.1 | 0.9807 | HV 3 | 29.42 | HV 100 | 980.7 |
Standards
| BS EN ISO 6507-1:2018 (BS 427:Part 1:1961) | Metallic materials. Vickers hardness test. Test method |
| ASTM E92-17 | Standard Test Method for Vickers Hardness of Metallic Materials |


